

Mounting features
Large tiles, such as 30x60 and 25x75 cm, are one of the most popular trends. They are also very easy to use. The 30x60cm format, for example, fits perfectly on modern apartment walls without looking massive. Such tiles are ideal for covering large areas, creating a uniform, monolithic look in the room.
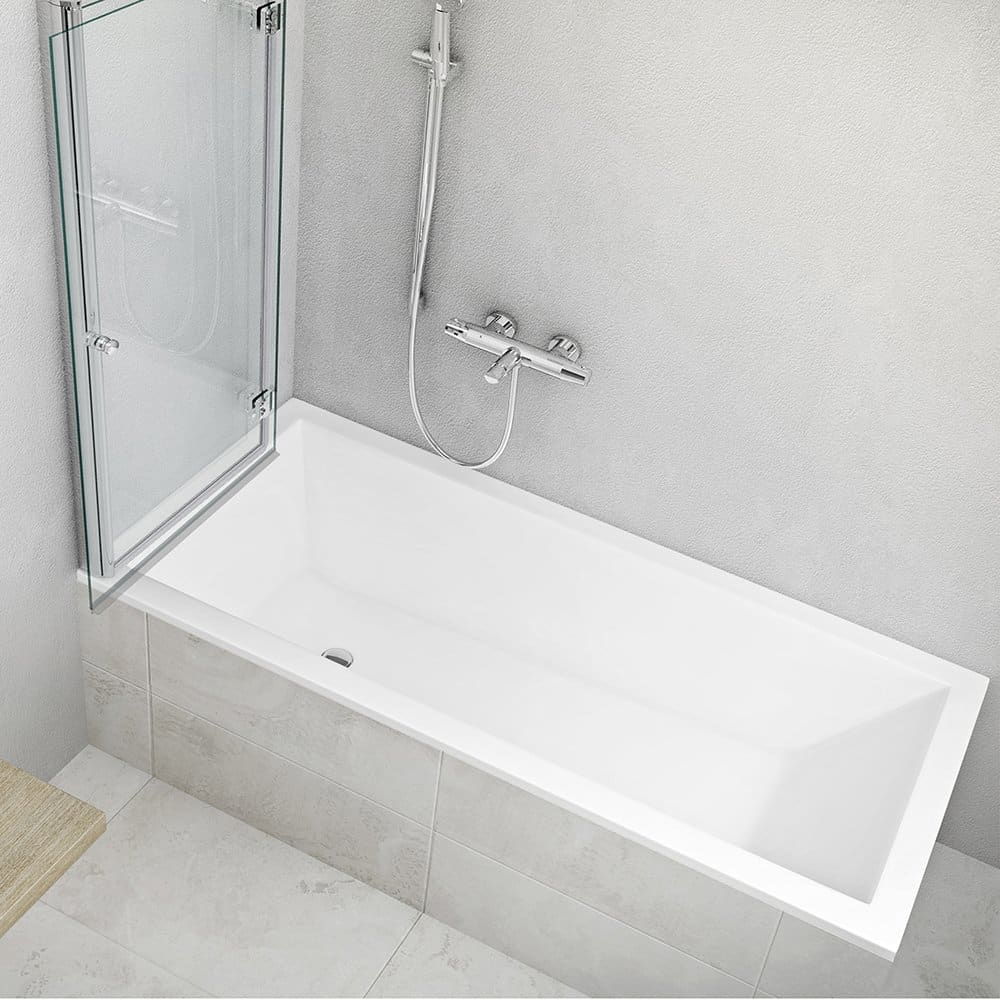
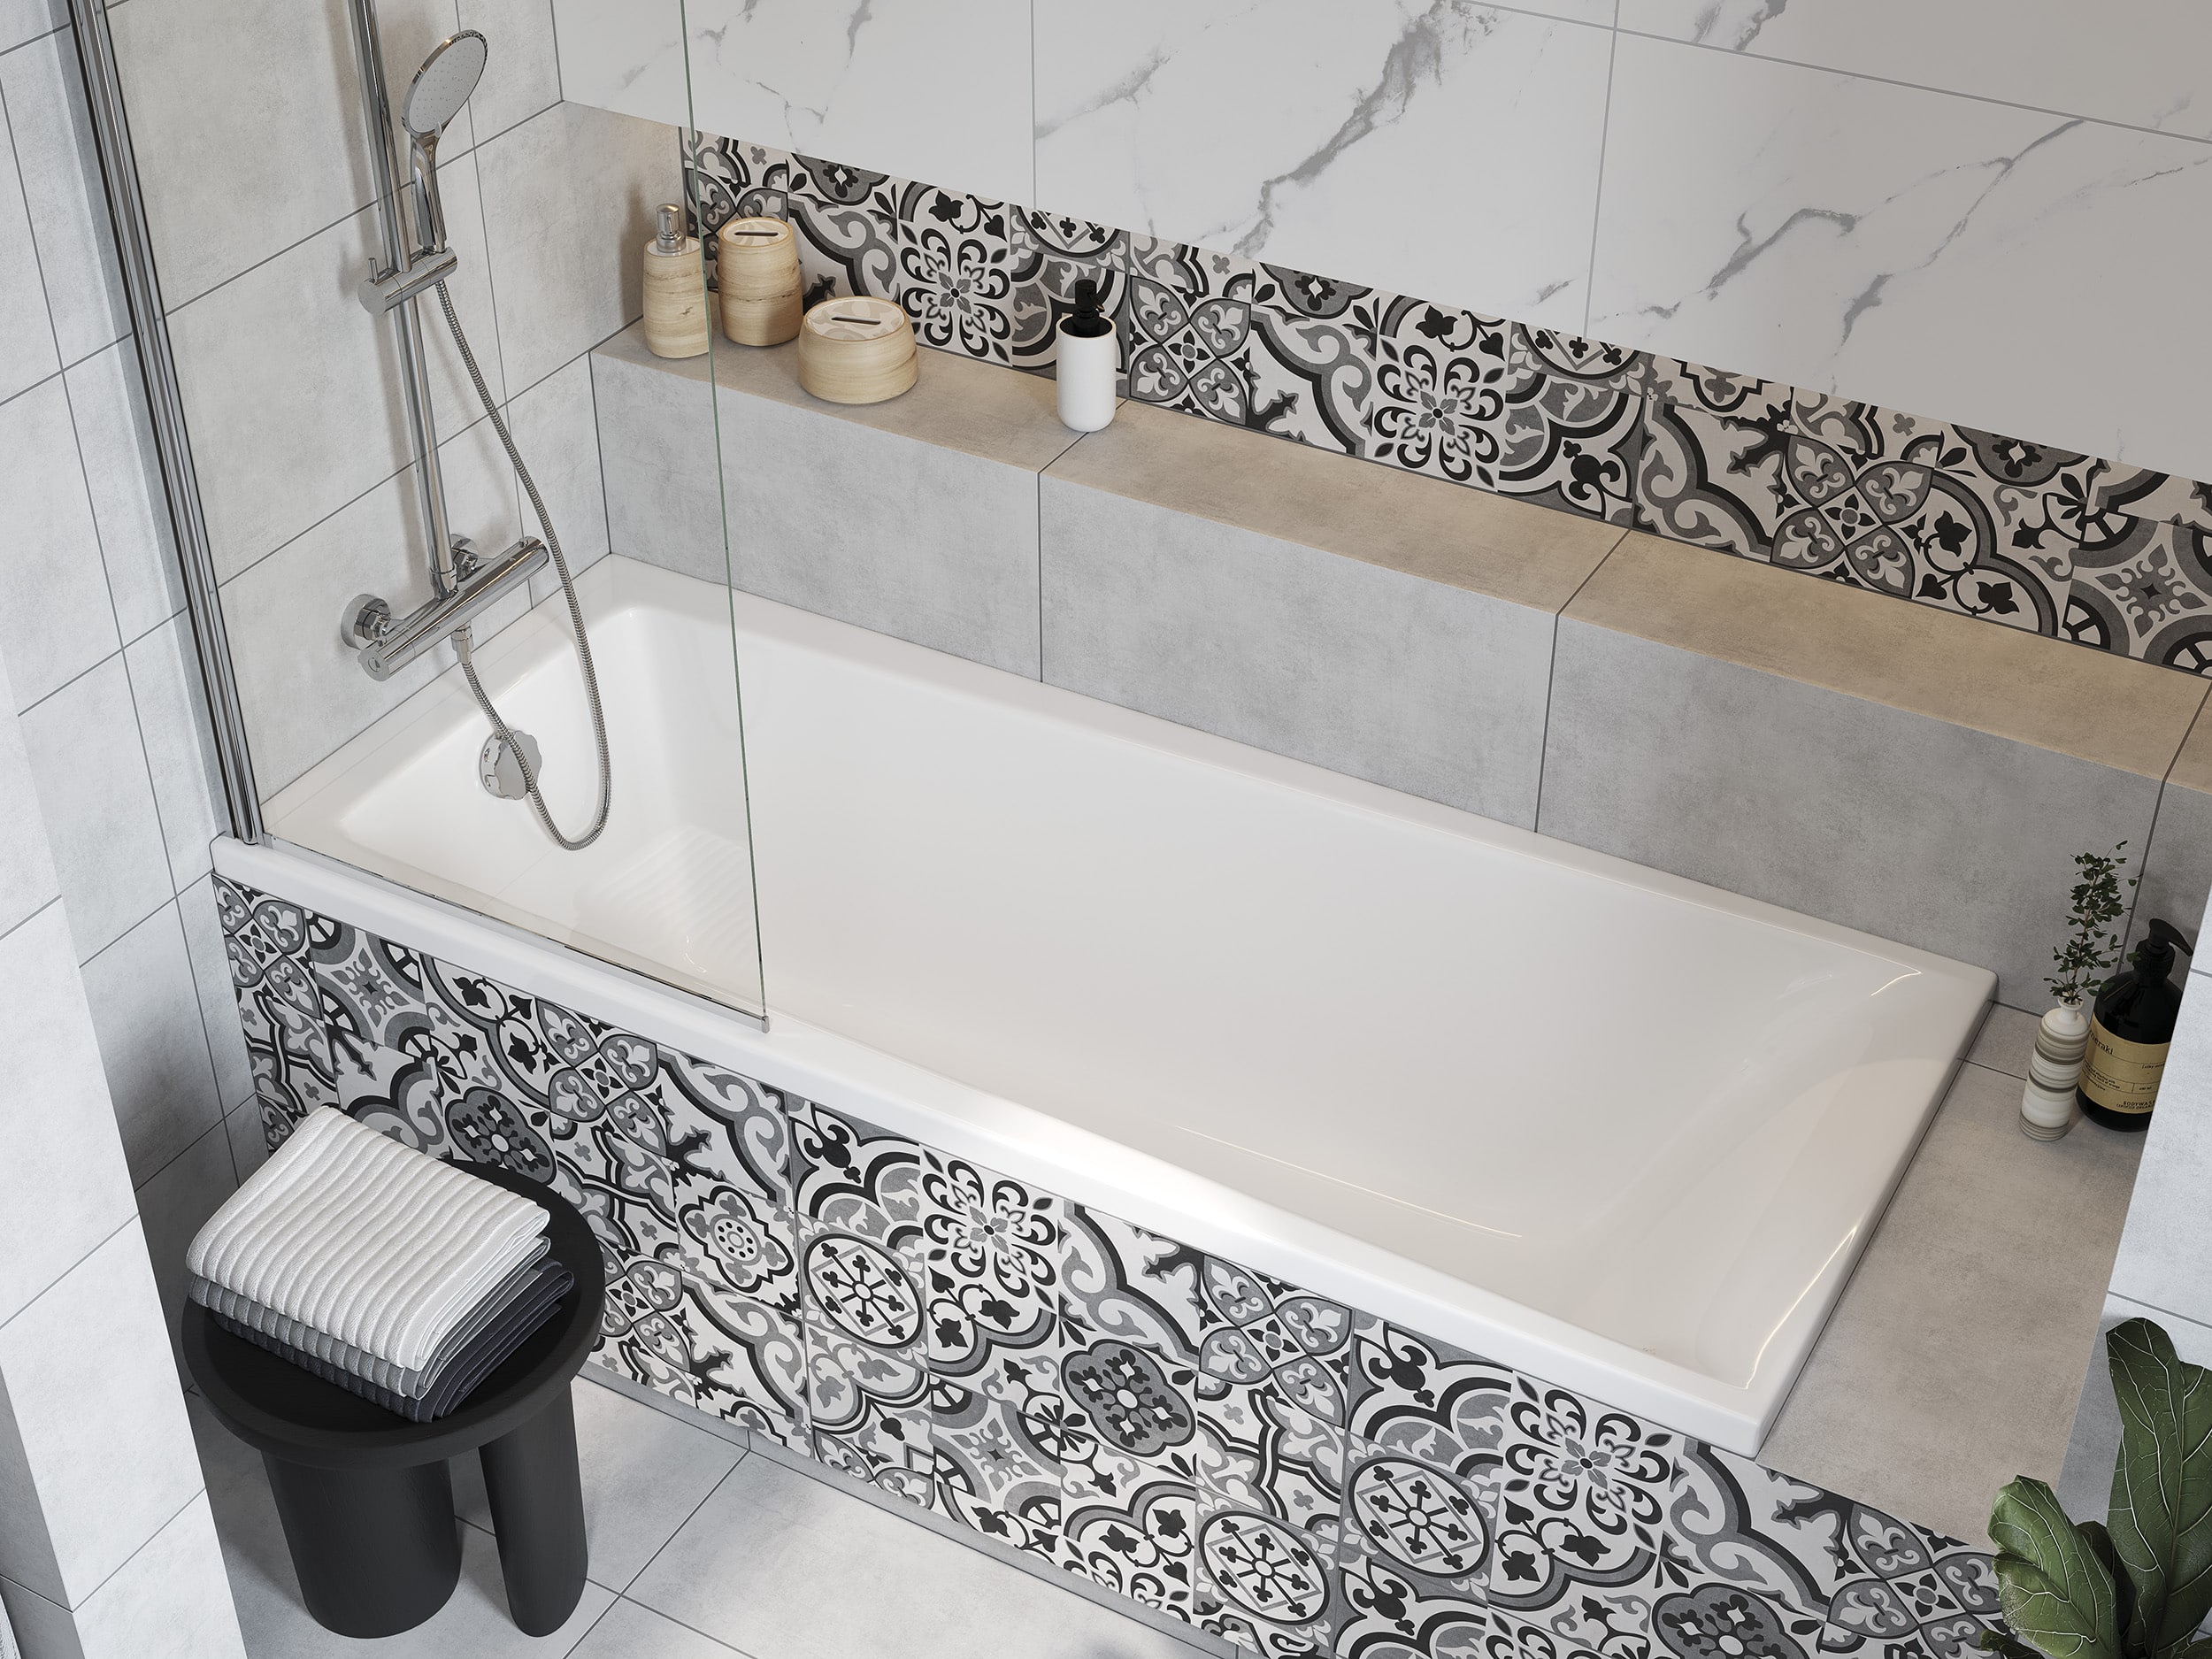
Another interesting feature of the large tiles in multiple sizes of 30 cm is their adaptability to standard bathroom heights. The standard height of a bathtub is 60 cm and the height of a sink is 90 cm. This means that the 30x60 cm tiles can be used, for example, to cover the front of the bath tub without the need for cutting.
Large format tiles
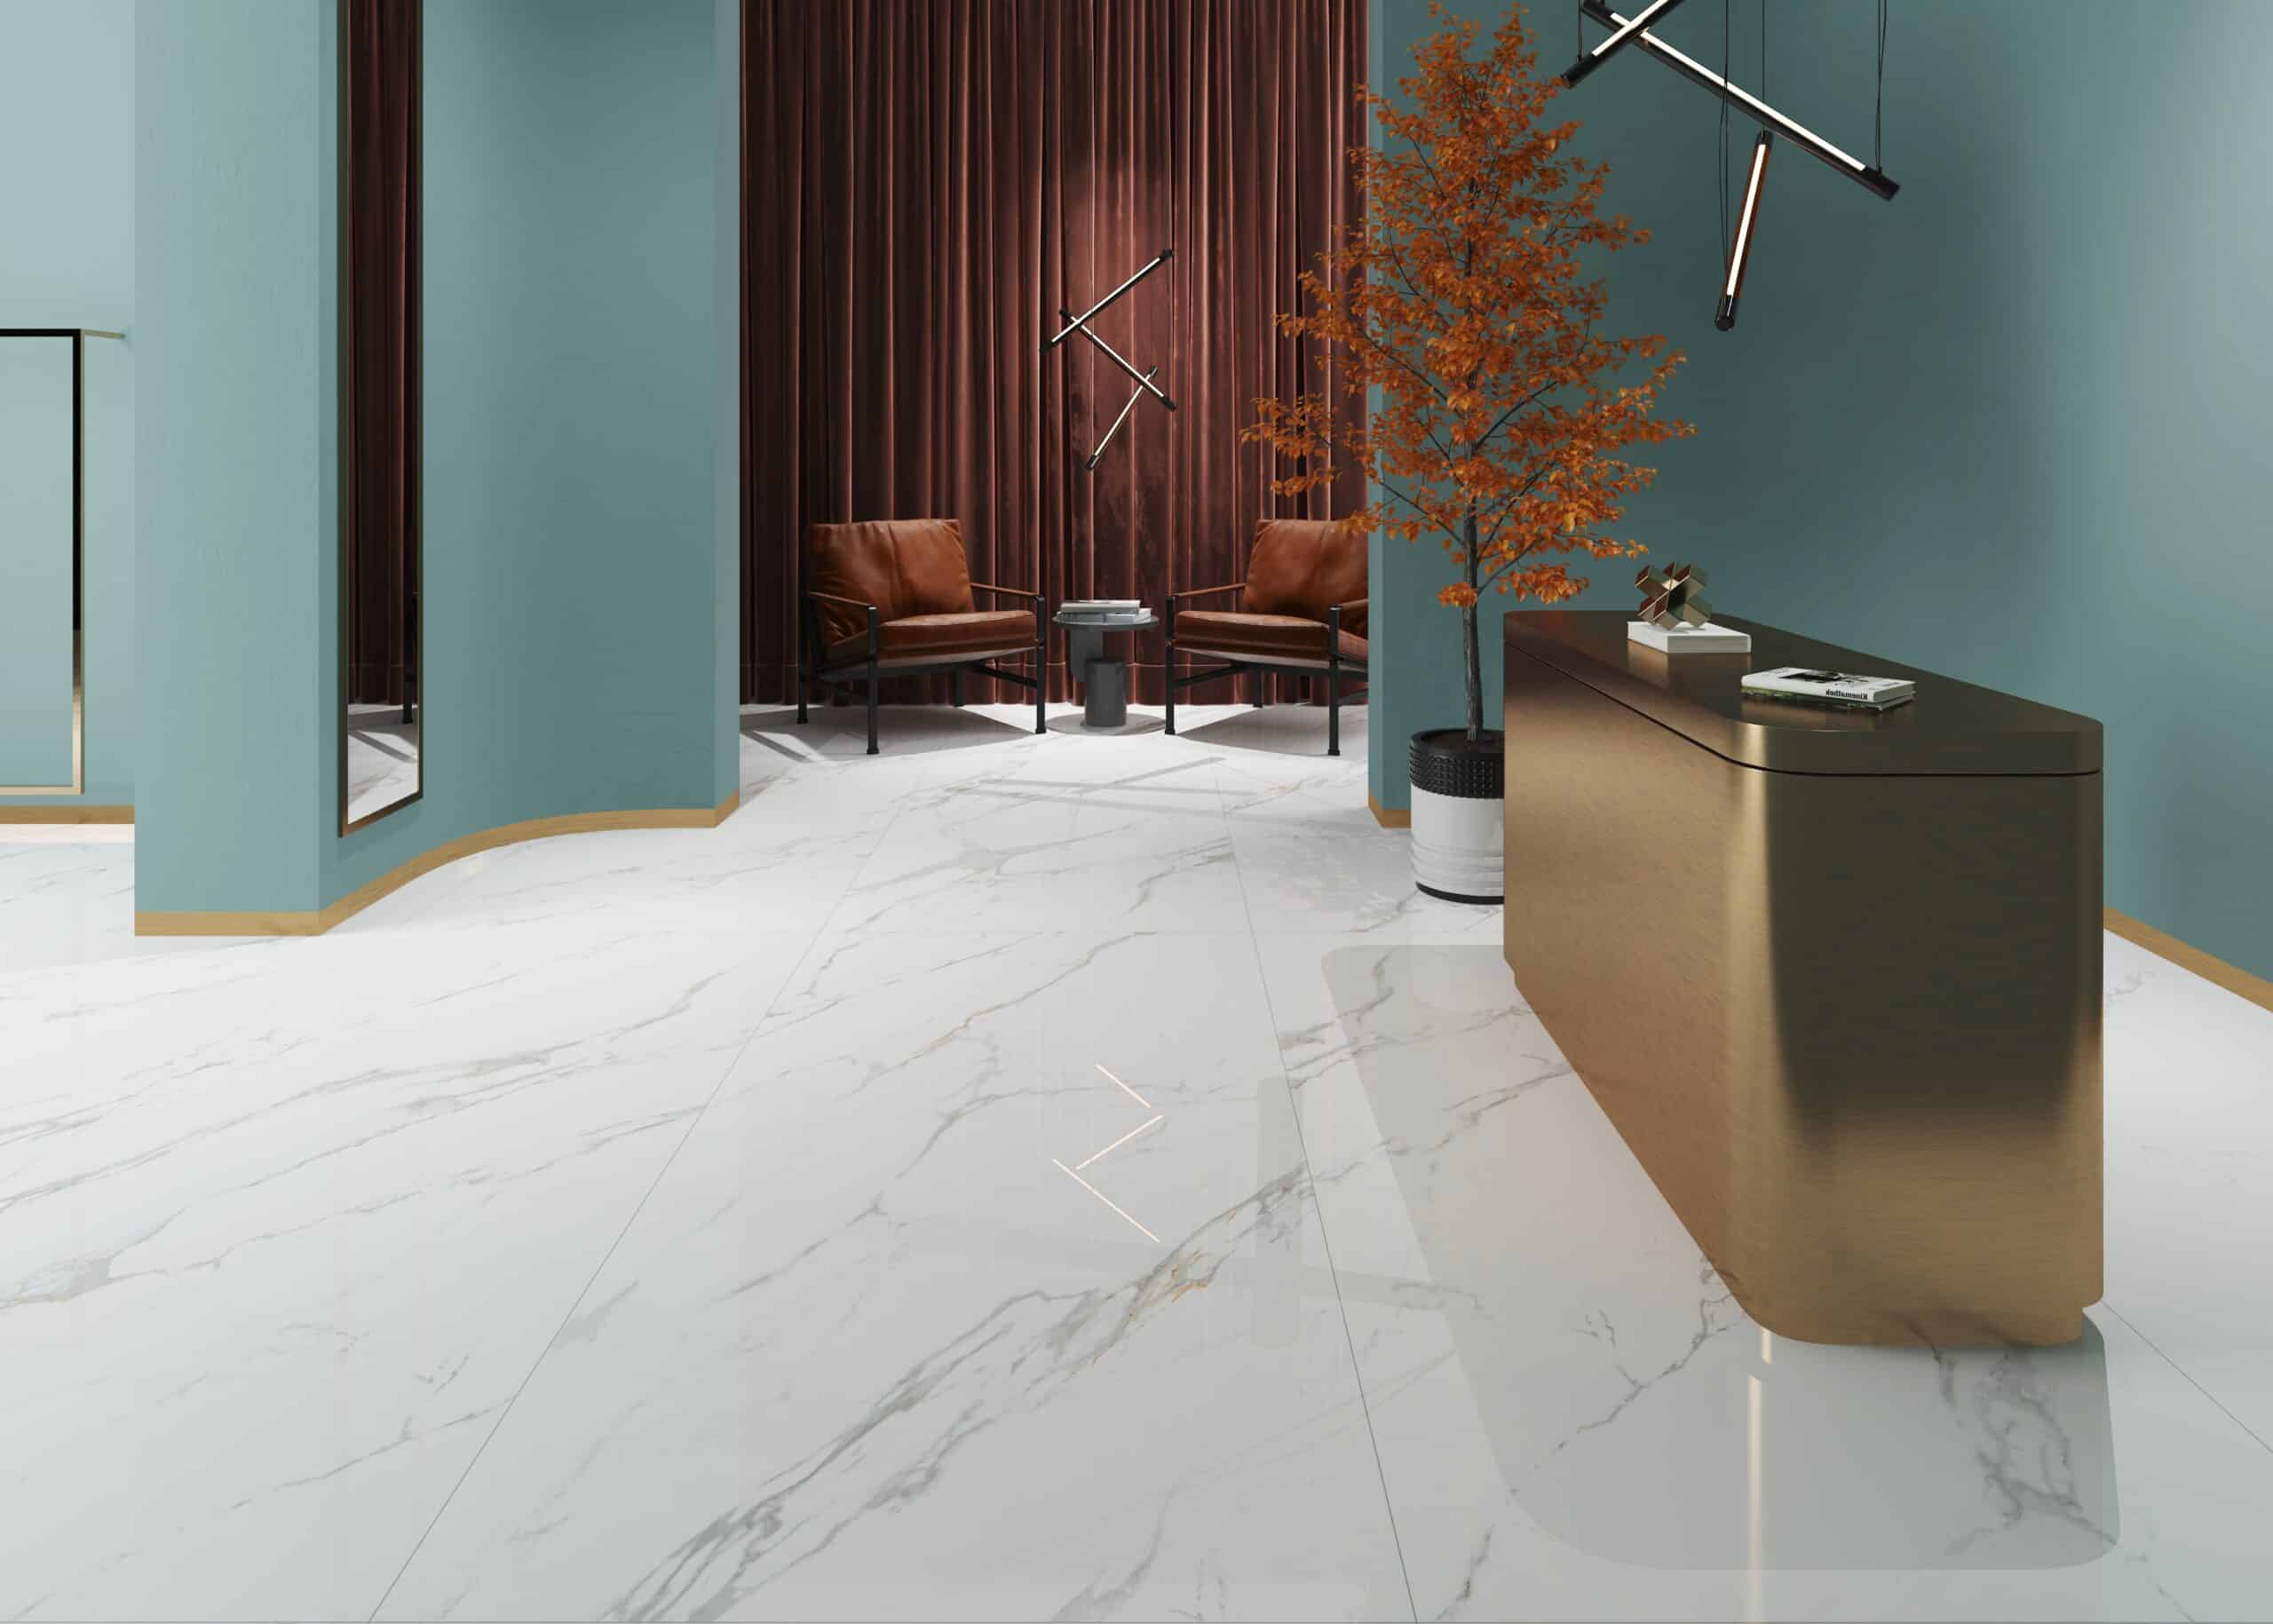
Another distinctive aspect of large tiles is their design. In general, they skilfully reproduce natural or industrial textures, such as Apeks 25x75 cm concrete, metal or wood. With the design continuing onto other tiles, a harmonious and soothing decorative backdrop is created. Modern technologies make it possible to print on the tiles any images or textures, almost indistinguishable from natural materials. Thus, kera-stone often becomes the centrepiece of a room's decor. For example, the Ivory collection reproduces the look of natural marble, while the Wood Concept Natural collection (22x90 cm) perfectly imitates wood, making it hard to distinguish from the real thing.
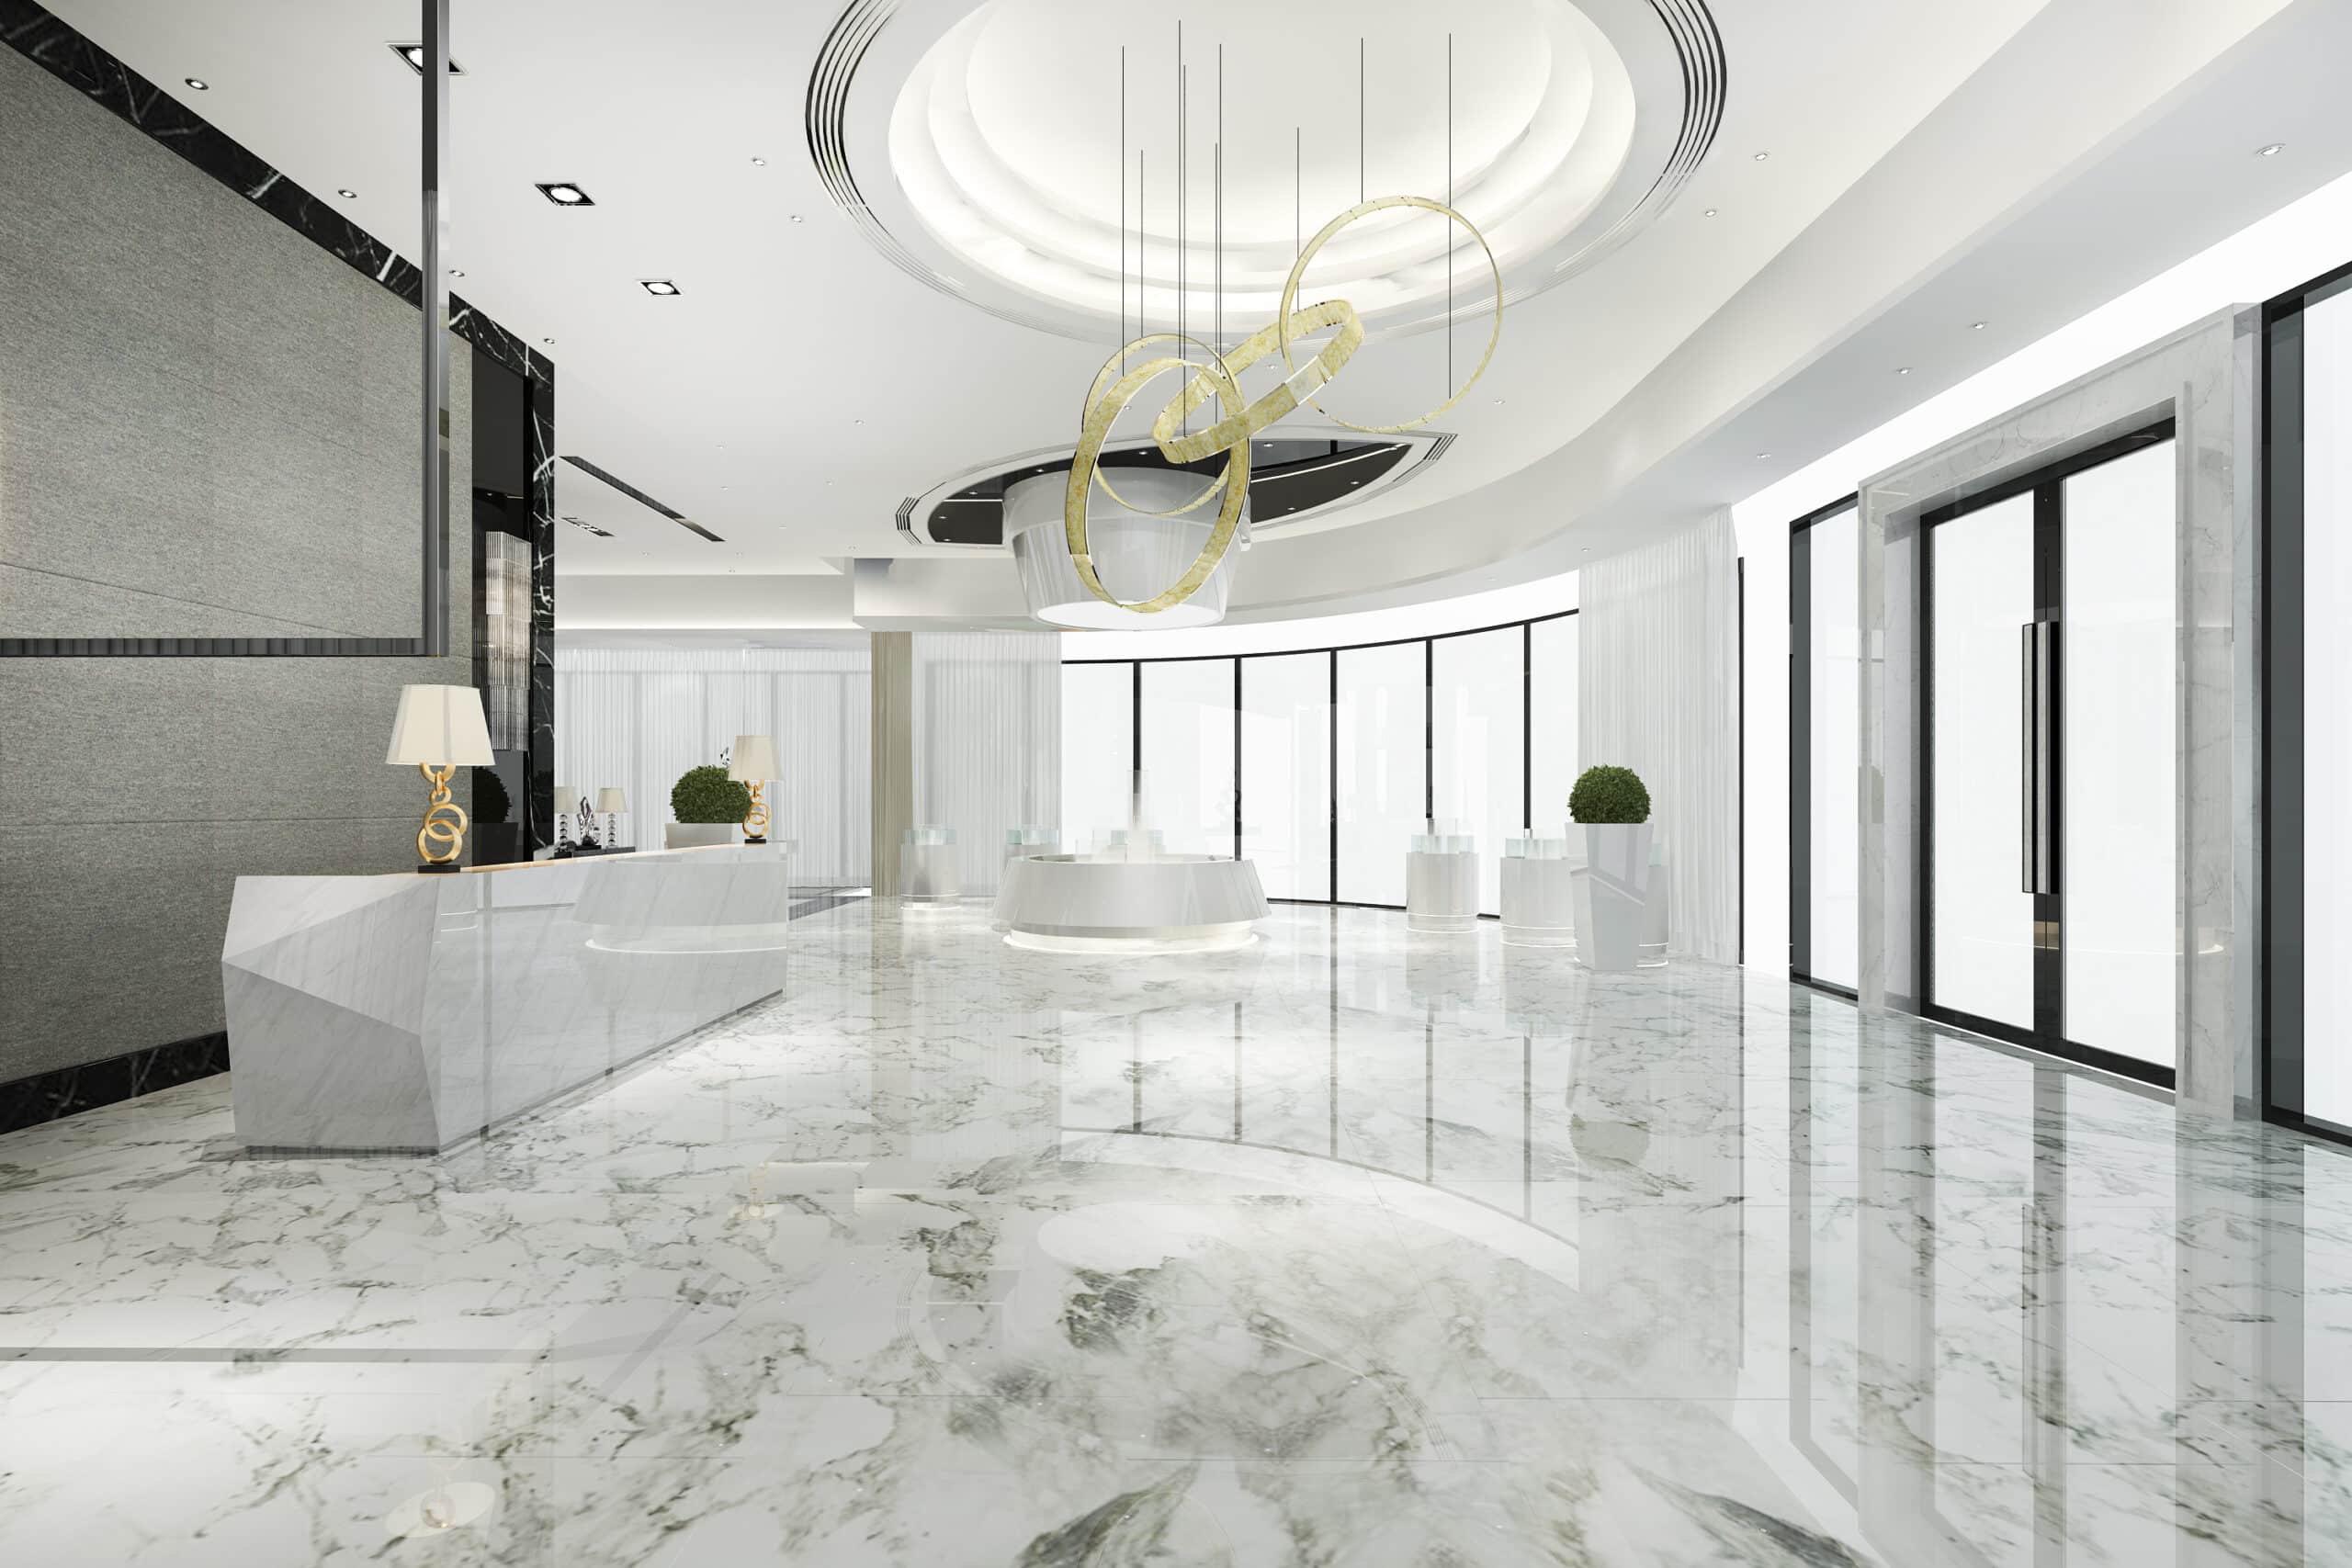
„Pre-assembly ”tests
For large tiles to look spectacular, they need to be placed correctly. Depending on the surface - floor or wall - a plaque should be placed in the most visible place. This can be identified by entering the room and observing where the eye falls. Arranging the tiles starts from that centre point. This preliminary stage helps with planning and is done before the actual installation.
Laying „dry” on the floor is an important step to make sure that the final result is what you expect. Tiles laid out in this way give a clear picture of the effect created in the space.
Preparing walls for installation
The preparation stage requires thoroughly cleaning the surface. Old coatings, such as oil-based paint, must be removed as this reduces adhesion. The walls must be perfectly levelled as large tiles require a smooth surface. Permissible deviations are a maximum of 3 mm over a length of 2 metres.
The application of a primer improves the adhesion of the adhesive. In bathrooms or kitchens, do not forget waterproofing.
Fitting large tiles
Mounting large tiles requires precision and patience. The adhesive is applied with a serrated trowel (4-5 mm) to both the board and the wall in a cross pattern to cover at least 70% of the surface. In the case of heated floors, the adhesive must cover 100% of the board. The ideal adhesive layer thickness is 1 cm. Deformable (class S1) or high performance (class S2) adhesives are recommended.
Vacuum suction cups are recommended for handling heavy boards. Each board should be placed straight on the adhesive layer, constantly checking the level.

Perfect joints
Mounting rectified boards requires minimum joints of 1-1.5 mm. The dimensions of the joints for classic boards vary depending on the size of the boards:
- Up to 10 cm: 2 mm
- Between 10 and 20 cm: 3 mm
- Between 20 and 60 cm: 4 mm
- Over 60 cm: 5 mm or more
- Mosaic: 1-2 mm
Correct installation, following all recommendations, ensures an exceptional result. Large tiles, such as those in the Haiku collection (25x75 cm), imitate textures like concrete, providing a timeless and elegant decor.